
DIY Reviews: Celebrating Your Success with Our Swing Set Kits
Sharing the Joy of Building with OtterWorks USA Swing Set Kits
Welcome to our DIY Reviews section, where the spotlight is on you, our valued customers. This page showcases the incredible projects completed using our swing set kits. From the Endeavor to the Gemini, these stories and photos are a testament to the fun, satisfaction, and pride of building your own swing set.
These are some comments and pictures from happy families who have built one of our Do-It-Yourself Wood Fort and Swing Set Designs. You'll find a good mixture of projects done with the DIY plans and a few masterminds out there who used our plans to achieve another level. Our DIY plans will give you the confidence and knowledge to build other projects around your home.
These are some comments and pictures from happy families who have built one of our Do-It-Yourself Wood Fort and Swing Set Designs. You'll find a good mixture of projects done with the DIY plans and a few masterminds out there who used our plans to achieve another level. Our DIY plans will give you the confidence and knowledge to build other projects around your home.
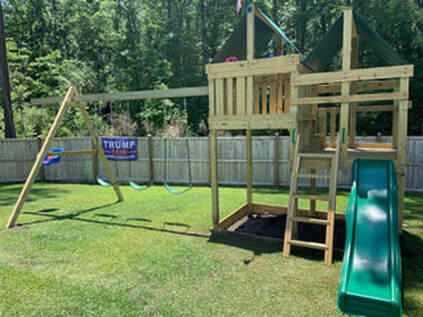
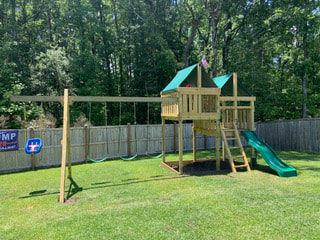
Endeavor DIY Fort/Swingset Plans
|
Hi Otter's Workshop,
Just wanted to reach out and say I finished the project and I'm really happy with how it turned out. It looks really great and my kids love it. Evan J. 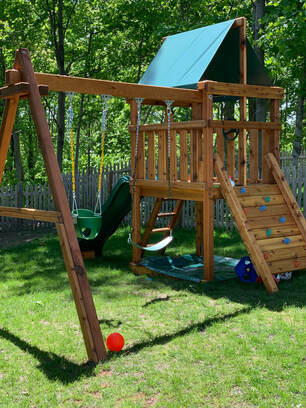
These plans are great! The way they are done makes it very easy to get all the supplies and wood that you need, make your cuts, and then assemble. It took 2 moderately experienced DIYers about 8 hours from start to finish. We're very happy with how it turned out and highly recommend.
Tara C. |
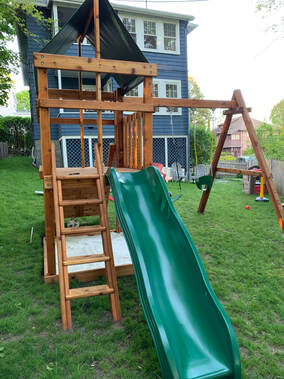
Apollo DIY Fort/Swingset Plans |
|
I wanted to let you know how much I love the Apollo playset I built for my granddaughter. While it took me a while, I purchased the plans and hardware in May and I finished in October. The sanding and routing just took time and there were so many other things to do. :( The material and cut list were excellent and accurate. The plans were good, I likely read them a dozen times and as I progressed the next step became very clear. At the end of the day I spent $1250, all in: plans, hardware, wood, slide and some tools. (I needed 1/2" long drill bit and 2 forstner bits)
It is just gorgeous, very solid, I think it would take a hurricane to move it. I still have to do the sandbox under the fort. I am thinking I'll add a 2x6 and have sand in 1/2 of the lower frame. Again the playset is awesome, and my granddaughter loves it Thank you! |

|
|
A further note states:
It really is an awesome playset, it costs less than other similar sets and is 10x sturdier. I did forget to mention that when I had it up in the yard I ended up moving the slide off of the side with the ladder and to the side opposite the swing. The location is a skinny rectangle and that just worked better. I notched the lower rail support out to accommodate the slide, then added a lower support for the rails next to the ladder. Ohhh also, the hardware you provided is awesome!!! |
I'm having fun building this project, the Apollo plans are very well done. As a carpenter by trade... I appreciate the sturdiness of this set compared to what you can buy in stores. Keep up the good work!
Steve
Steve
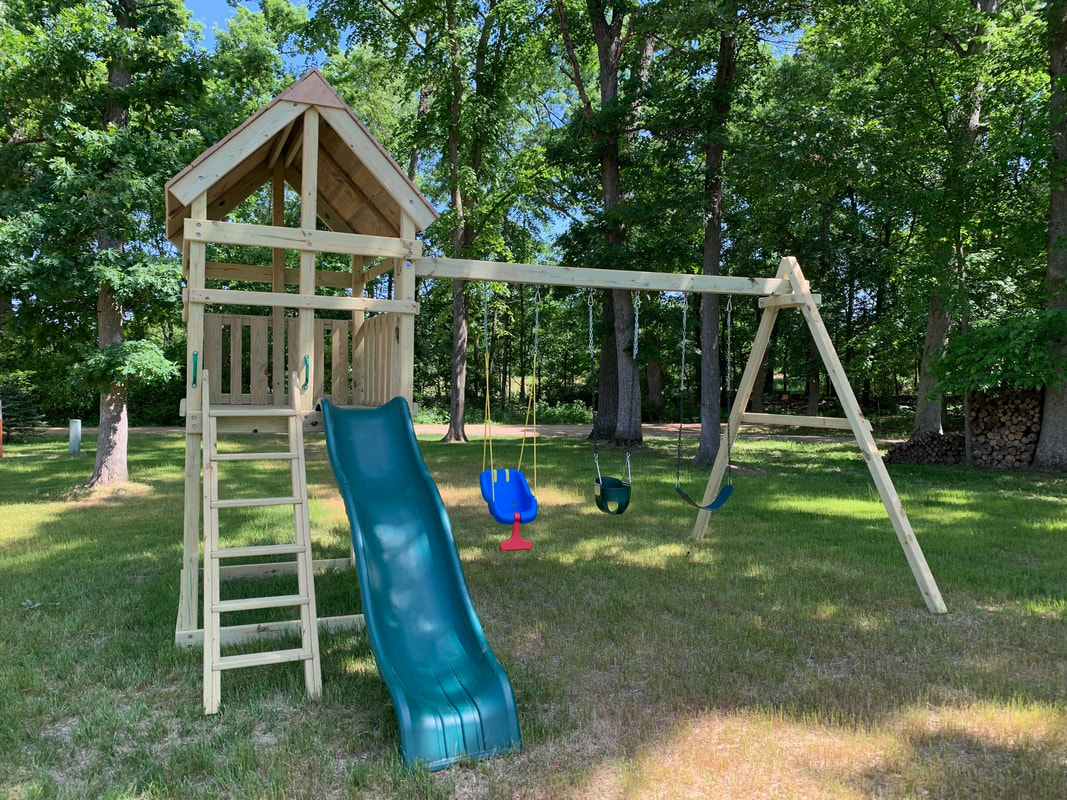
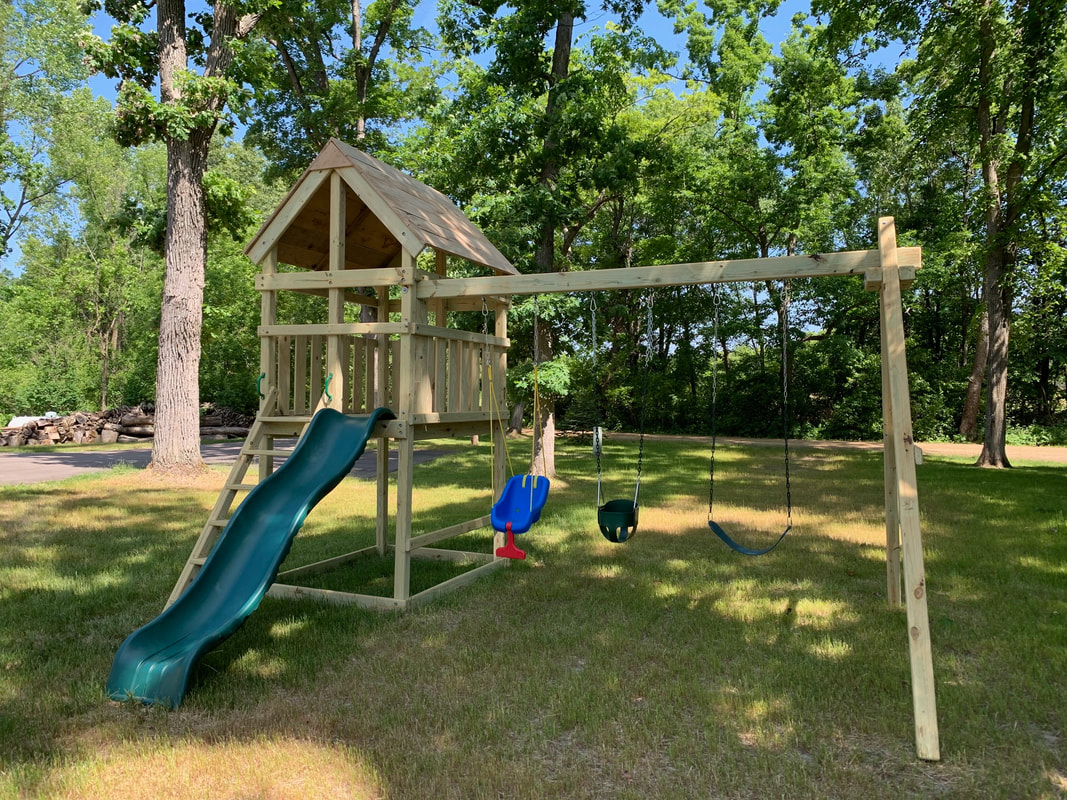
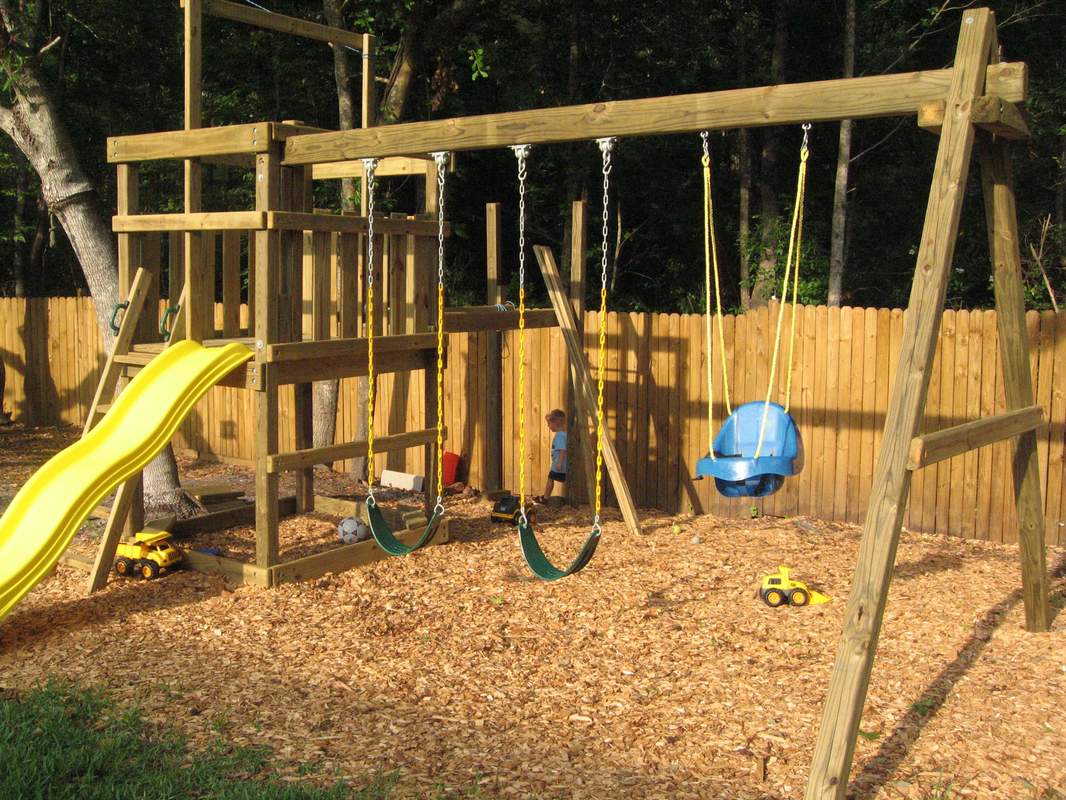
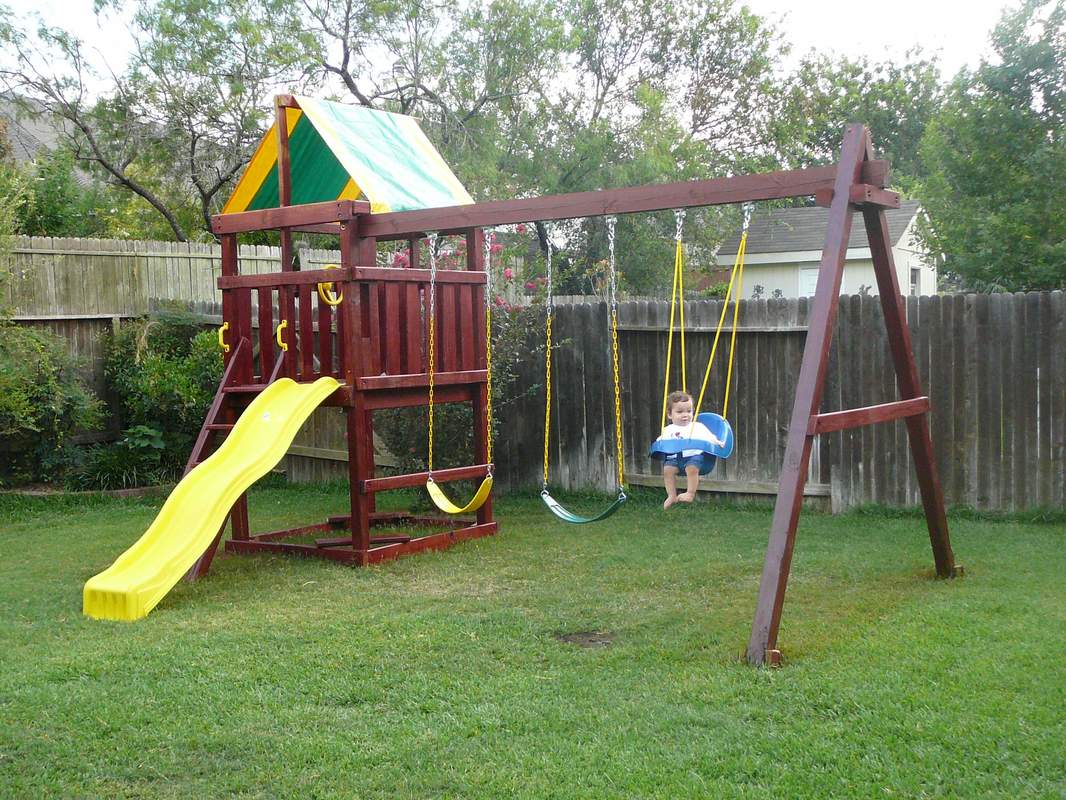
Triton DIY Fort/Swingset Plans
|
My Daughter and her friends had a ball at her 3rd birthday party and I received many praises for on it. I even had a go on the swing and gave it a workout and it didn’t budge an inch.
I was very happy with your plans and I was able to put this together for around $2000 AU including all accessories, to buy something like this pre-fabricated would have been twice as much. Thank you. Adam |
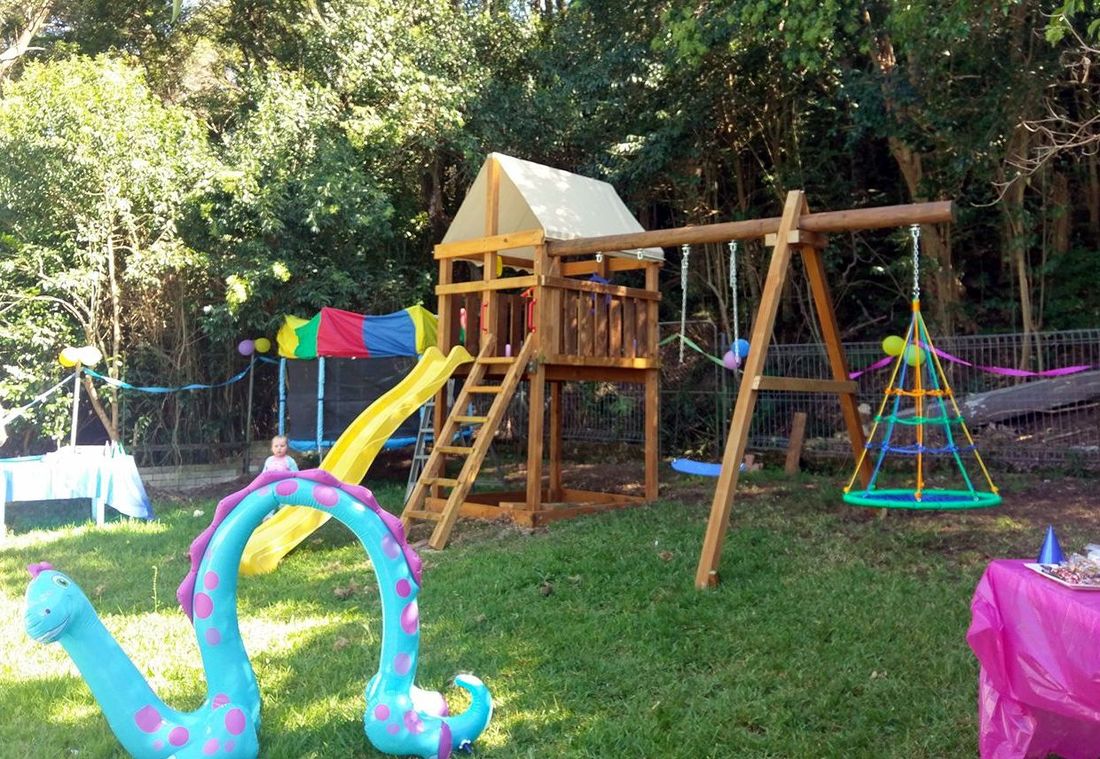
This Triton Do-it-Yourself Playset was build by a proud Dad in Australia.
|
Just wanted to say that I just completed the 4-position swing, and the Triton Fort. Your plans were absolutely top-notch, saving me a great deal of time! Thank you! My children are delighted. Since we don't have a level piece of property, I ended up building a wood foundation platform into the ground on which to rest the fort, and secured the platform with concrete. This made it a lot easier to assemble the fort, as I didn't have to be concerned about leveling. I also added a pulley on the back of the fort to hang a bucket which my son loves to lower up and down. I can't thank you enough for your great plans!
B Thompson
B Thompson
|
I love these plans and my daughter is so excited!! She’s going to have the best play set in our street!!
-Scott 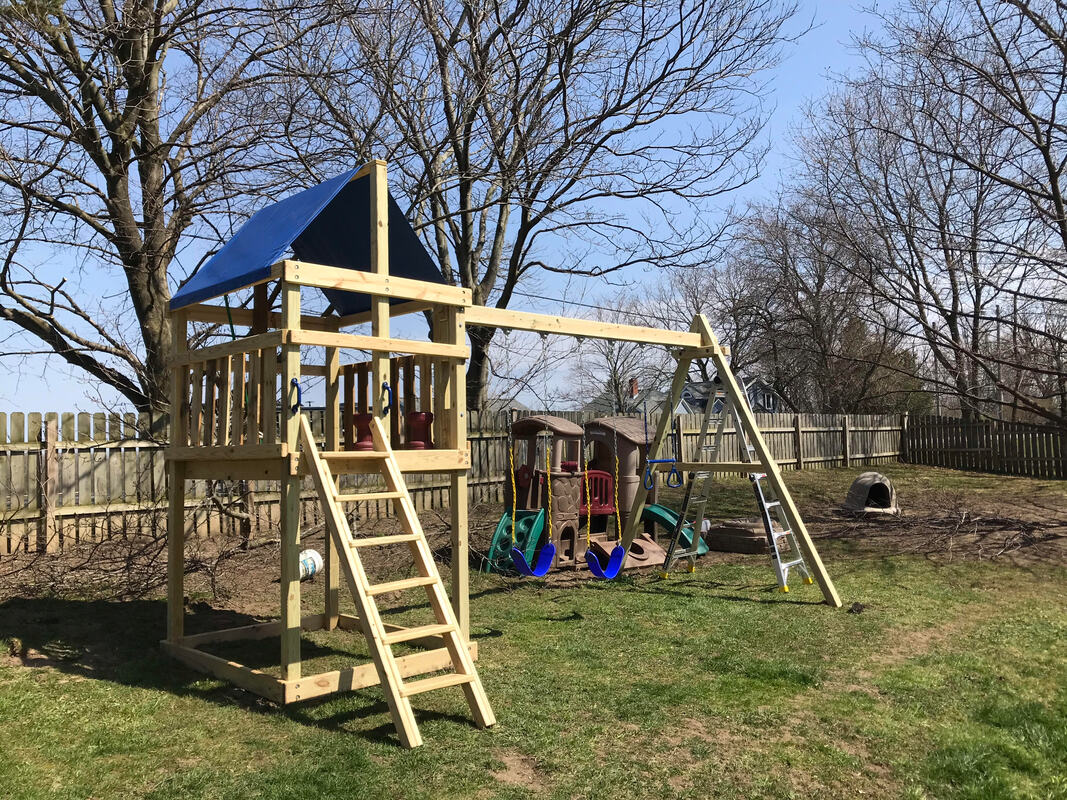
|
|
|
If anyone wants to know, it cost about $1200 for the lumber and hardware for main structure, four position swing, picnic table, and adding two swings to the main structure with the accessories arm or whatever y'all called it. It took three of us about 5-6 hours to get to what you see in the pictures. I will send more pictures once we get it finished and try to write up a better testimony when I have some more time.
|
|
We are very happy with these plans... much sturdier result than the big box store swing sets. Love the beefy, solid construction. Performed a lot of prep work routing and sanding all the wood prior to cutting and assembly, but it was well worth it. Did the actual fort assembly over two days, with another day for the add-on swingset. Plans were detailed and well thought out. Wish they included the option for a wooden roof vs. tarp, although some of the website photos show customers that did just that. I made some slight modifications to the plans and will be installing a wooden roof on my set. May also modify the sandbox area to add some folding bench seats that will act as a cover. Overall very pleased with the outcome; would highly recommend these plans to anyone wishing to build their own swing set. I would recommend this fastener kit to anyone building the DIY Triton Fort and Swingset. All hardware is included to assemble the set; the only extra fasteners I needed to buy were some galvanized bolts/washers/nuts to attach the slide. I performed price comparison shopping with a local big box store, and quickly exceeded the price of this kit (while not being able to match all of the proper sizes). Highly suggest purchasing this kit!
Steve T. 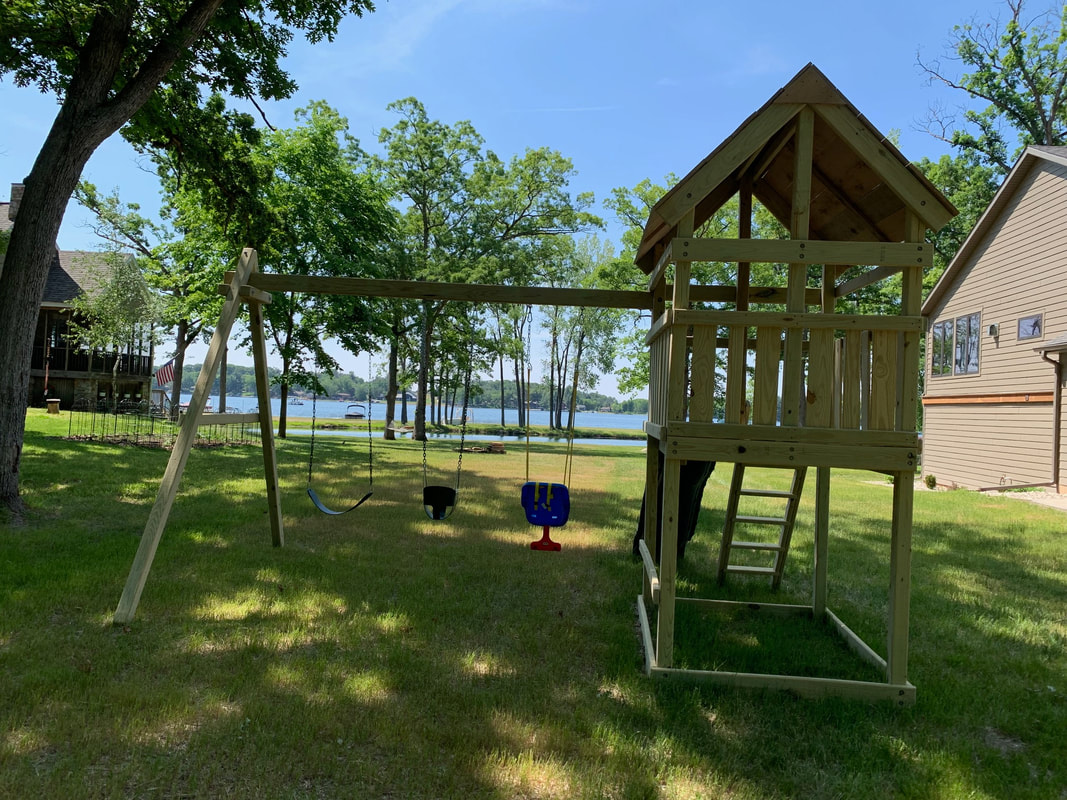
|
|
Definitely recommend this if you want to build your own swingset. Instructions are clear and the shopping list is a lifesaver!
Patrick S.
Patrick S.
Very pleased. Capable DIYer and not my personality to buy plans, however, the supply list and cut list alone made it worth it. I sent the lumber list to a local building supply shop and had it delivered for just under what the website suggested was an average. Plans were very easy to follow and my daughter loves it.
Ryan M.
Ryan M.
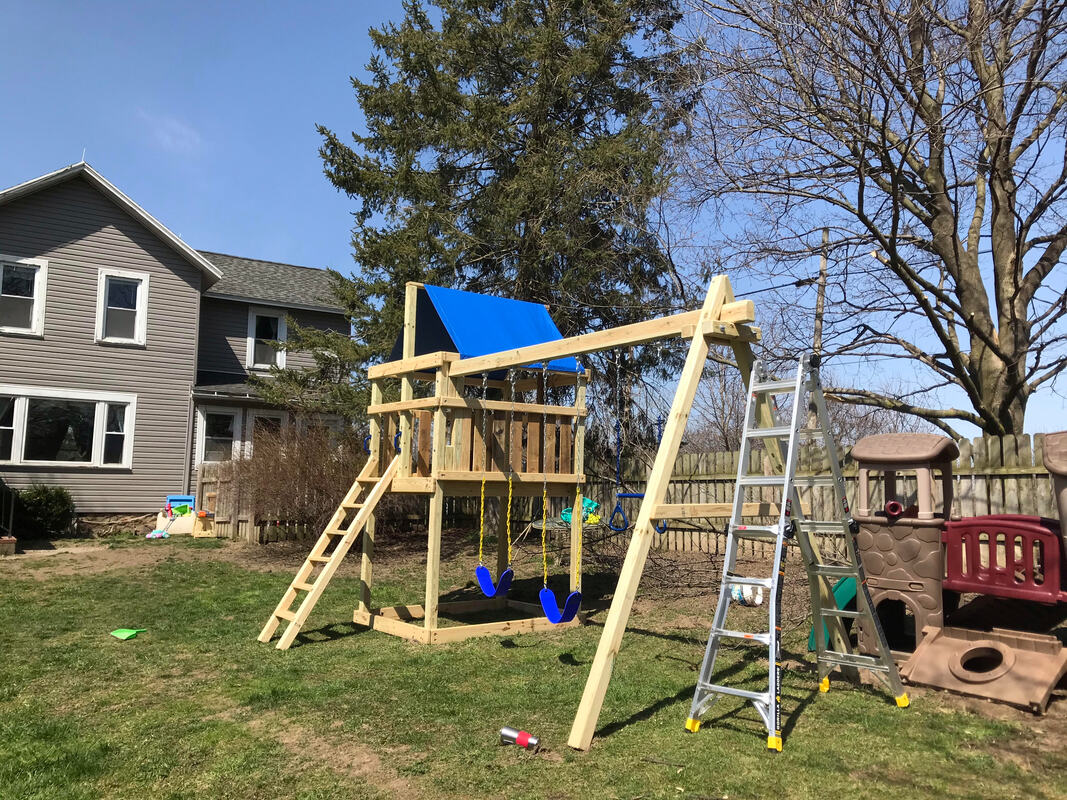
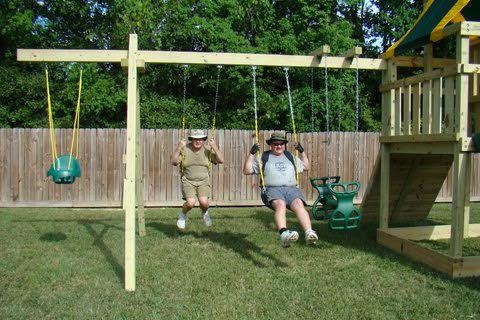
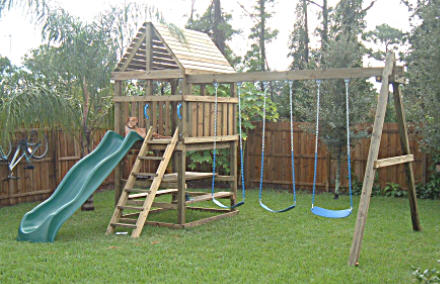
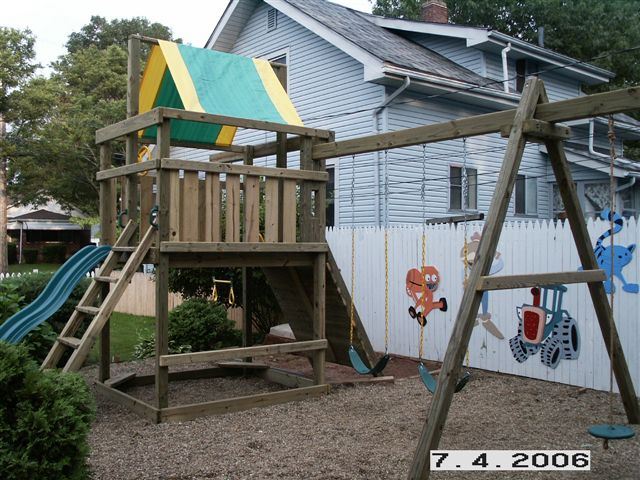
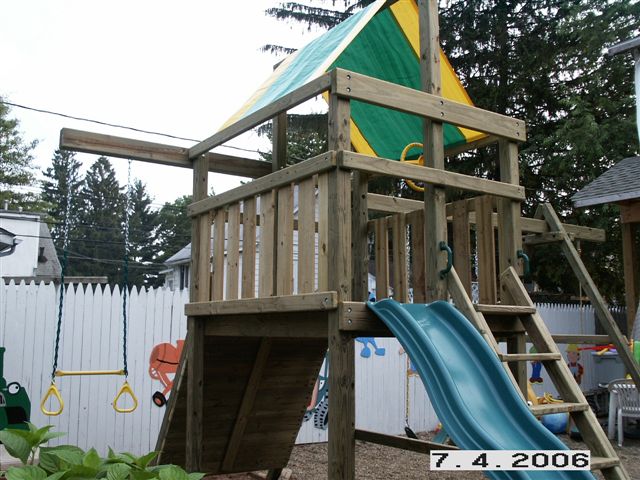
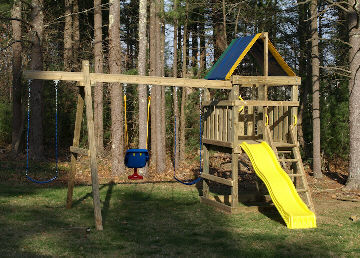
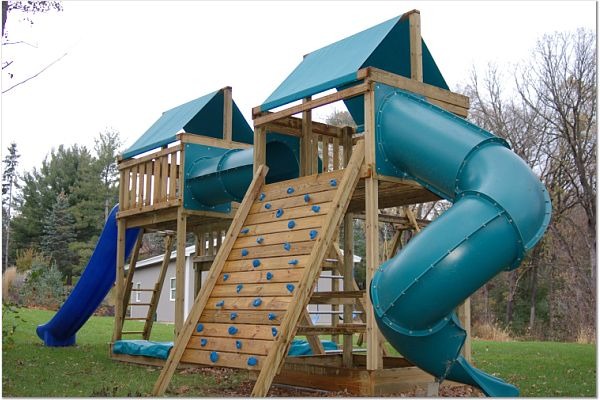
Gemini DIY Fort/Swingset Plans
|
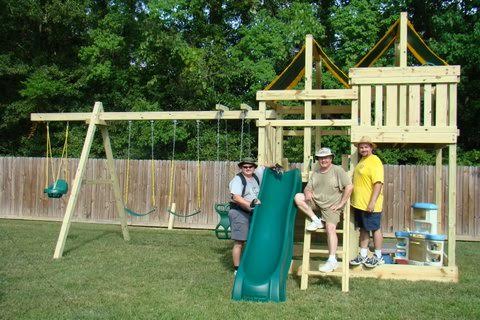
We spent the Fourth of July (100 degree heat) building your Gemini Playset for my 2 year old son. It took one full day to cut and label the wood. Then it took two more days to put it all together. But as you can see, it's sturdy enough to hold THREE GROWN MEN! This thing ain't going nowhere! Your plans were very easy to follow and we appreciated the shopping list. We look forward to years of fun on this swing set!
THANKS! Gina <>< |
|
Great job Phil N.!
|
|
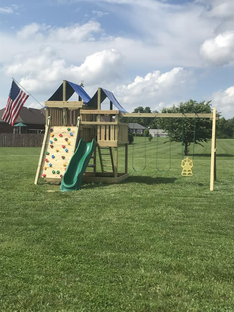
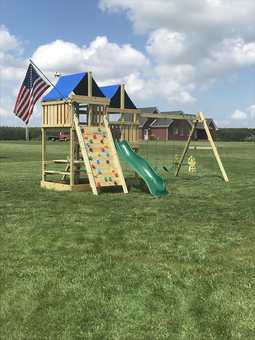
I just finished the Gemini this week and it came out amazing! I just want to say thank you very much for the plans and hardware. I could not be happier with how it turned out. Everyone who has seen it has been EXTREMELY impressed. It's a hit in the neighborhood!
Michael B. |
|
|

|
|
|
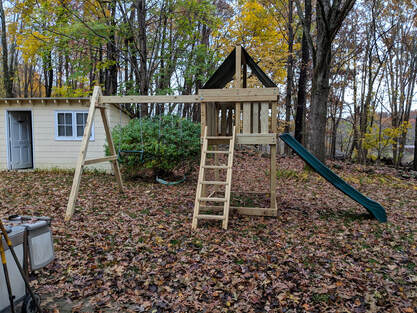
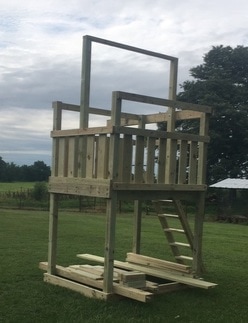
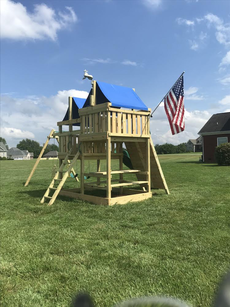
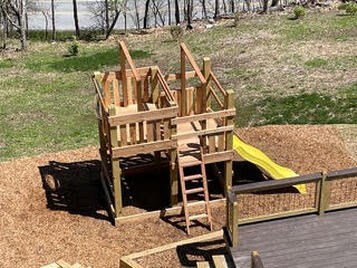
Wanted to let you know that your fort design worked beautifully. I did make the structure with 6” x 6” x 12’ lumber because of the wind and the storms we get in Boone, NC. I will add the swing structure this weekend and the canopies and we are good to go. Thanks so much.
Brad S. |
This thing is a tank. The designs were relatively easy to follow although some could be clearer. This thing is well designed and will last for decades I'm sure. I feel like they went overkill with the size of some of the lumber they called for,(like you could probably get away with decking boards on the floor, but it definitely is well built. I weight over 300 pounds and climbed up on it to do some details and it barely moved at all. Will definitely last the childhood of my 4 children. We added the optional Swing and climbing wall and it turned out great. Even with 3 kids swinging at once there was no movement. Impact drill for installing all the Lags will make your life much easier. Would definitely recommend to friends. Very impressed(not a paid endorsement).
James C.
James C.
Awesome plans and even better swing set! The cut list really streamlined the process. Excellent design and fun play set for the kids to play on. Thanks!
Matthew R.
Matthew R.
This fort is excellent. The kids love it. Lots of room to play on 2 levels. Instructions were easy to follow and understand. Definitely a weekend project, not a day project.
Davis Z.
Davis Z.
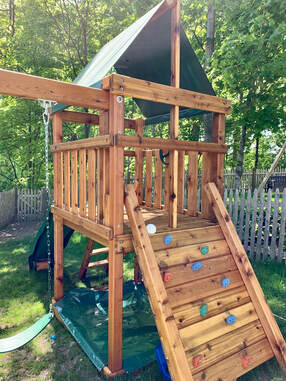
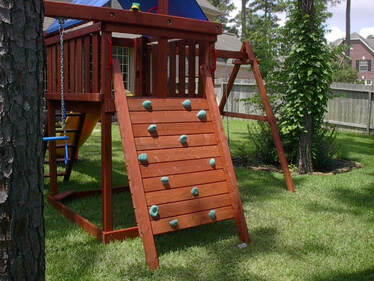
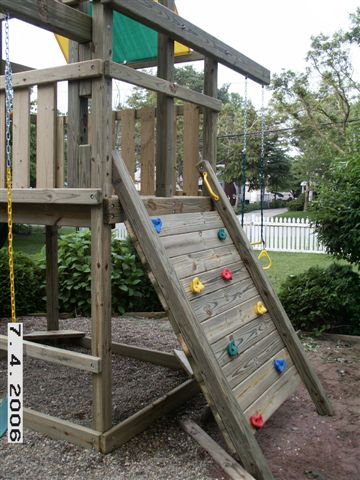
DIY Inclined Rock Climbing Wall Plans
|
I used the this website and got plans for the Apollo fort last year. It is absolutely awesome and much more solid than playsets I've seen from the big boxes. Plus, the satisfaction of doing it yourself. This year I decided to add the climbing wall, so once again I ordered the plans and built the wall. As with the play set the plans were perfectly detailed and I built a climbing wall that I know is safe for the kids to play on. Thanks for the great plans. Would suggest this company to anyone looking to build a super solid safe playset and climbing wall for their kids.
Jason C. |
Build-It-Yourself Plans Success Gallery


Why Our Swing Set Kits?
Complete and Easy-to-Use: Each kit has all necessary components and clear instructions, ensuring a smooth building process.
- Customizable: Our kits are designed for easy customization, allowing you to add personal touches.
- Safety and Durability: We prioritize safety and quality in our kits, ensuring a long-lasting and secure playset.
- Community Support: Join our community of DIY enthusiasts to share tips, ask questions, and showcase your amazing projects
Join the OtterWorks USA Family
Your success stories inspire us every day. If you've built a swing set using one of our kits, we'd love to hear from you. Share your story and photos, and let's continue to build a community that celebrates creativity, hard work, and family fun.
Start Your DIY Adventure Today!
Browse our range of swing set kits and join the ranks of satisfied DIYers. Build not just a swing set, but a lifetime of memories with OtterWorks USA.